How to create effective Facebook Events for your Try Dives, Training Courses and Club Trips.
Facebook events are the perfect way to get users’ attention and keep it. With Facebook’s calendar connection, most people have their Facebook events connected to their smartphones. This means you can keep your audience in the know without doing much leg work.
Use Facebook to help fill your Events
In this post, we give you 10 top tips on how your club can get the most out of Facebook Events and get people to attend:
1. Schedule your Events ahead of time
The earlier you can get your events on your Facebook Events page, the better. Not only will it give you more time to promote, but your followers will be able to look at what you have coming up and gives them time to plan.
Lots of events listed on your Facebook page shows just how active your club is. Pop your club trips as well as training and Try Dive events on there and let club members book their places.
2. Name your Facebook Event
Your Facebook event should have a name that describes your event well. If you’re having a Try Dive event don't just use 'try dive'. Use something more descriptive like; 'Try Scuba Diving in Hertford' or 'Try Scuba Diving in a pool' or 'Try Dive evening this September'.
Not only does naming your event help it stand out, but it also makes it easier for people to remember and talk about with their friends.
If you're listing a course or trip try Event names like; 'Scuba diving trip to the Farne Islands' or 'St Abbs Shore Diving Trip' or 'BSAC Ocean Diver Open Water Training'.
3. Write a clear and thorough description
Your description is where you’ll give important details about your event such as pricing, location details, timings etc. You can also include compelling reasons why someone should attend, what should they expect and will they be given anything at the event like a certificate etc.
Another great way to use the description is to add special information about the location. For instance, if the event is in a certain part of a larger venue like a leisure centre, you can put that in the description so people know where to go once they arrive.
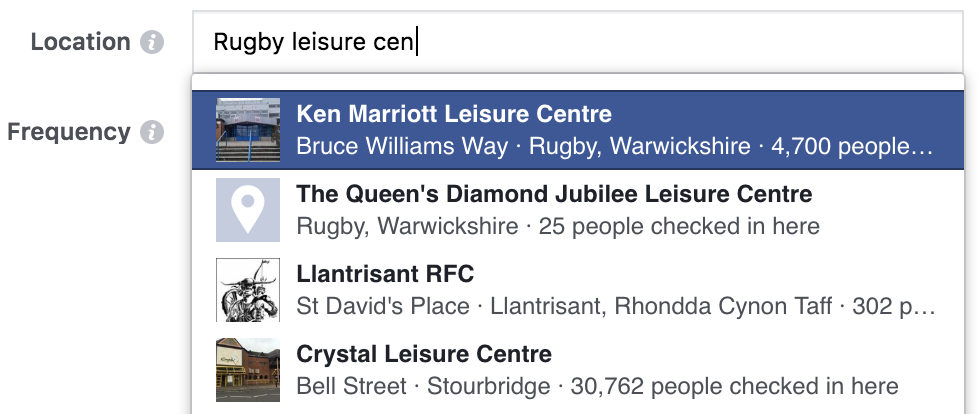
4. Make the most of Facebook's recognised venues
When you’re creating Facebook Events, you can tag the exact location of where it will take place. You have the option of entering an address, or you can enter the name of a venue on Facebook.
Start typing the name of the venue, and Facebook will autocomplete it with suggestions.
When people hover over the name of the location, the page will pop up. You can reach out to the venue and see if there’s an opportunity for them to promote the event as well since you’re highlighting their business.
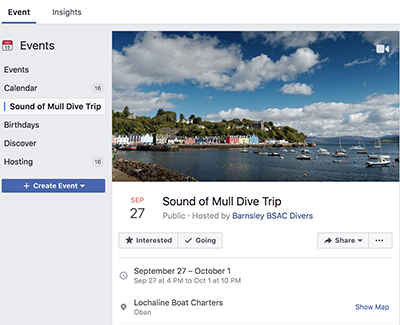
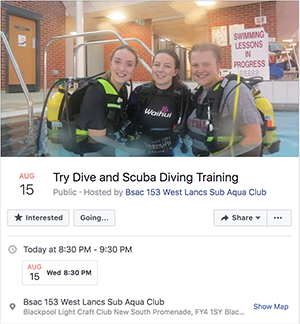
5. Use an eye-catching Event photo
Facebook Event photos should compel people to want to find out more. That means your photos should be eye-catching and relevant.
If you’re hosting a Try dive event you’d probably want your photo to be of happy trainees in a pool environment. No fancy graphics are needed, just club members having fun is ideal. The purpose of your event should be clear from the photo. If you need them please download images for your Event from us - downloadable images for BSAC clubs.
What size should your Facebook Events image be? Since your event photo can be displayed in multiple places such as News Feeds and users upcoming events section, Facebook recommends using the dimensions 1920 X 1080 pixel image or a 16:9 aspect ratio. There are free tools online like Landscape and Canva that will resize and crop images for you.
6. Create a sense of urgency
In order to get people excited about your event, create a sense of urgency. People will be much quicker to attend or accept your invitation if they feel like they’ll miss out if they wait. Do this by limiting the number of available spaces, setting an RSVP date or offering an early bird special.
7. Use Keywords for Tags

Include relevant keywords in your tags section. Don’t limit yourself to just branded keywords. Start typing relevant keywords and Facebook will give you suggestions. Adding tags allows Facebook to recommend your event to users based on their interests, so use as many as possible.
8. Let people post on the Event wall
When you’re creating a public event, you have the option to only allow hosts to post on the event’s wall. In most cases, you should leave this unchecked. The more active the event looks, the more excited people are going to be about it. Making the wall public also allows you to answer questions and get to know your attendees and reply to each post.
9. Pin a Post to your Event wall
You can pin posts to the top of your Facebook Events wall, so it gets priority over everything else. The pinned post can be used for updates, or a countdown or list other important information. In order to pin a Facebook post, just click on the arrow at the top of a post you published on the event wall and select “Pin Post.”
10. Run Facebook Ads and promote the Event outside of Facebook

This step isn't a 'must' like the descriptive Event titles for example, but it is something you should consider. You can boost your events just as you would with a post.
Boosting an event allows you to promote it to people who may be interested in attending, but aren’t aware of your club or Facebook Page. The promotion can get you more attendees and also help build your Facebook following.
Promote outside of Facebook: Ask your members to share the event on their Linkedin, Twitter and Instagram accounts if they have them.
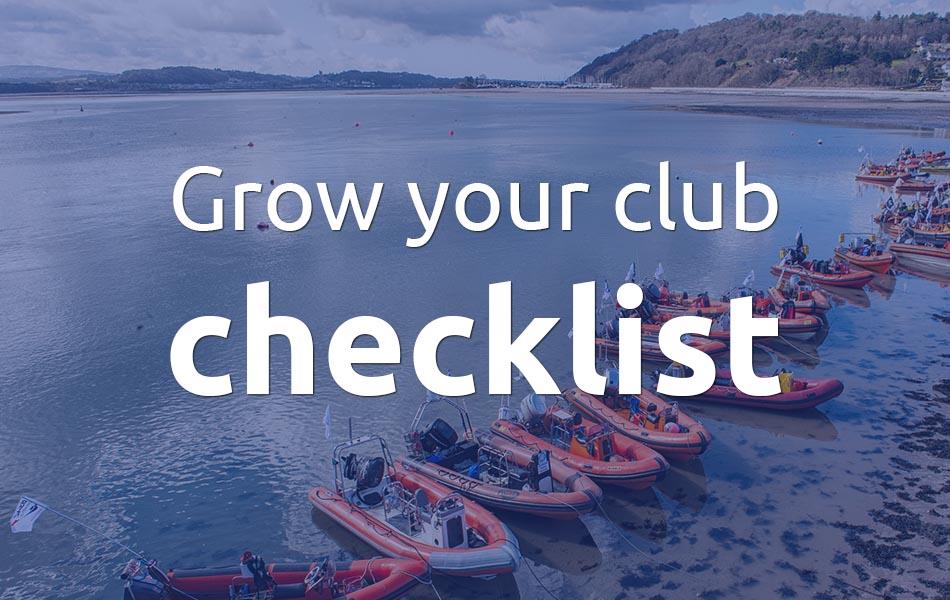
Download the NEW Grow your club checklist.
Work through the checklist to help identify what to implement to grow your club. Download the checklist now.
For more support please contact marketing@bsac.com or if you fancy a chat call us 0151 350 6224 (Mon - Fri, 9 - 5:30).